How to Travel with Musical Instruments
Learn how to travel with musical instruments, one of the most difficult things to do as a musician. In this blog we give some tips to make this process easier.


What could possibly be scarier than snakes on a plane? Instruments. Instruments on a plane.
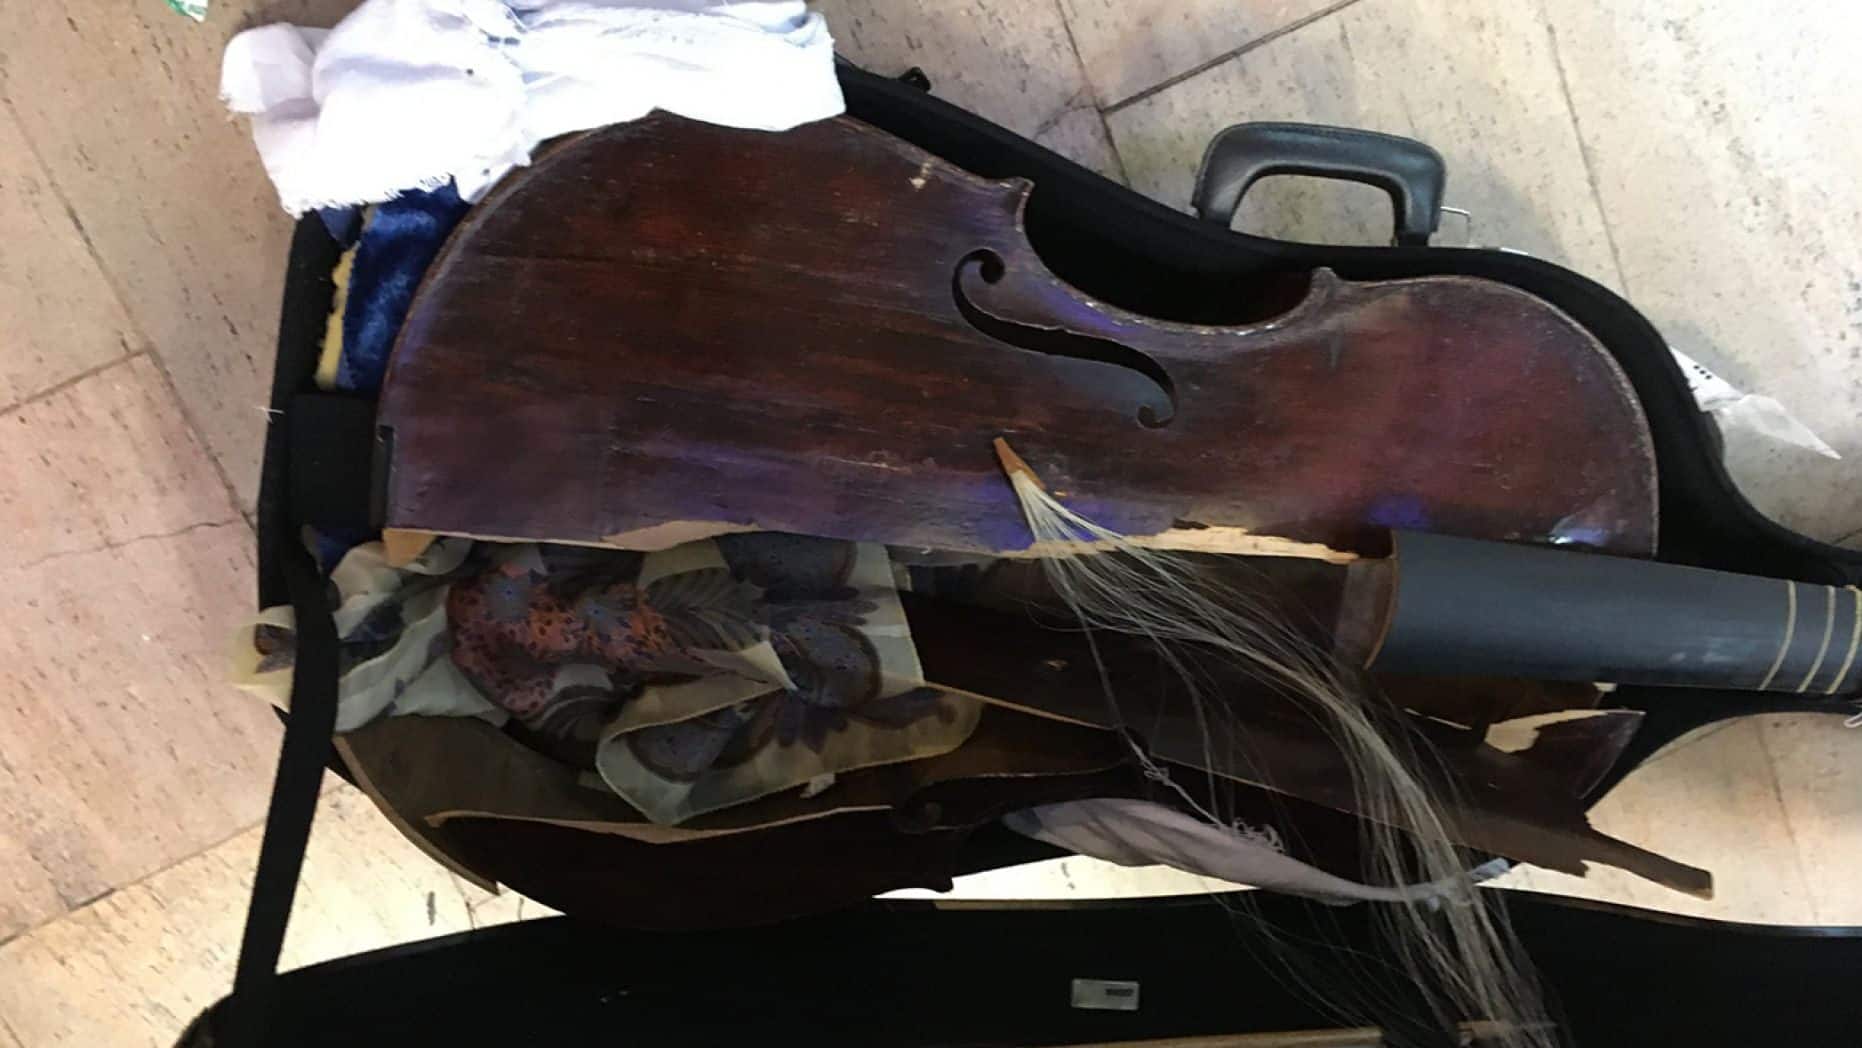
If you’ve never had to travel with musical instruments before, take it from many who have, that there are a few things you should do to prepare. Some instruments can be carried on, while others will, unfortunately, have to be checked. We’re going to address both and do our best to prevent something disastrous like this from happening:
1. Do Your Homework
Regardless of whether you’re traveling by plane, train, bus, boat, or car, you should always check up on baggage policies. Maximum weight and size dimensions can vary, even from airline to airline! Knowing the policy for your mode of transportation ahead of time will save you a lot of trouble, and may even cause you to make some different choices.
If you have a smaller instrument, such as a viola, clarinet, or flute, you will probably have little to no trouble carrying your instrument with you. Even so, you should still study up on the policy, both for checked luggage and for carry-on allowances. In addition, you may want to go the extra mile and actually purchase a seat for your instrument. Make sure to check ahead of time that this is allowed!
The more you know, the better you’ll be able to make your case if an employee asks you to change something last minute.
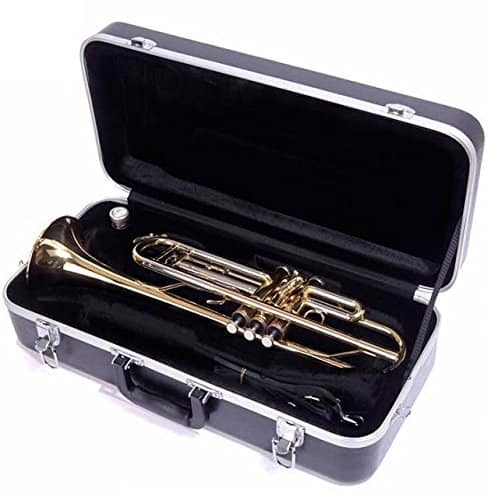
2. Invest in a Hard Case
Sure, soft cases may be easier on your back and shoulders, but when it comes to traveling, this isn’t the time for comfort! If your instrument doesn’t already come with a hard case, it’s time to get one. As much as we’d like for airlines to recognize an instrument and treat it with care, they’ll likely be hoisting it over their shoulders and tossing it 10 feet onto the plane without blinking an eye. Besides, you don’t want to take any chances with rain, snow, or other elements that might damage your instrument.
Buy a case that your instrument will fit in snugly, but one that you don’t have to force it into. Take some time to browse these hard cases from Amazon, read reviews, and find the perfect case for you!
3. Add Some Padding
As we just mentioned, it’s important that your instrument fits into your case snugly. But in the case that it’s not a perfect fit, you can improvise by adding extra padding, whether it's clothes or bubble wrap, to keep your instrument in place and free from banging back and forth between the case walls. In addition, you may want to protect the top of your instrument, especially if it has exposed elements, like the strings on a guitar.

4. Arrive Early
It’s always a good idea to be early when traveling, but especially when you’re traveling with an instrument. Getting to the airport or bus station early will give you time to jump over any hurdles you may encounter, like an employee who tells you last minute that you must check your instrument. Also, it’ll also allow you to maneuver your way to the best spot on the train or bus to avoid having to put your instrument in an undesirable location.
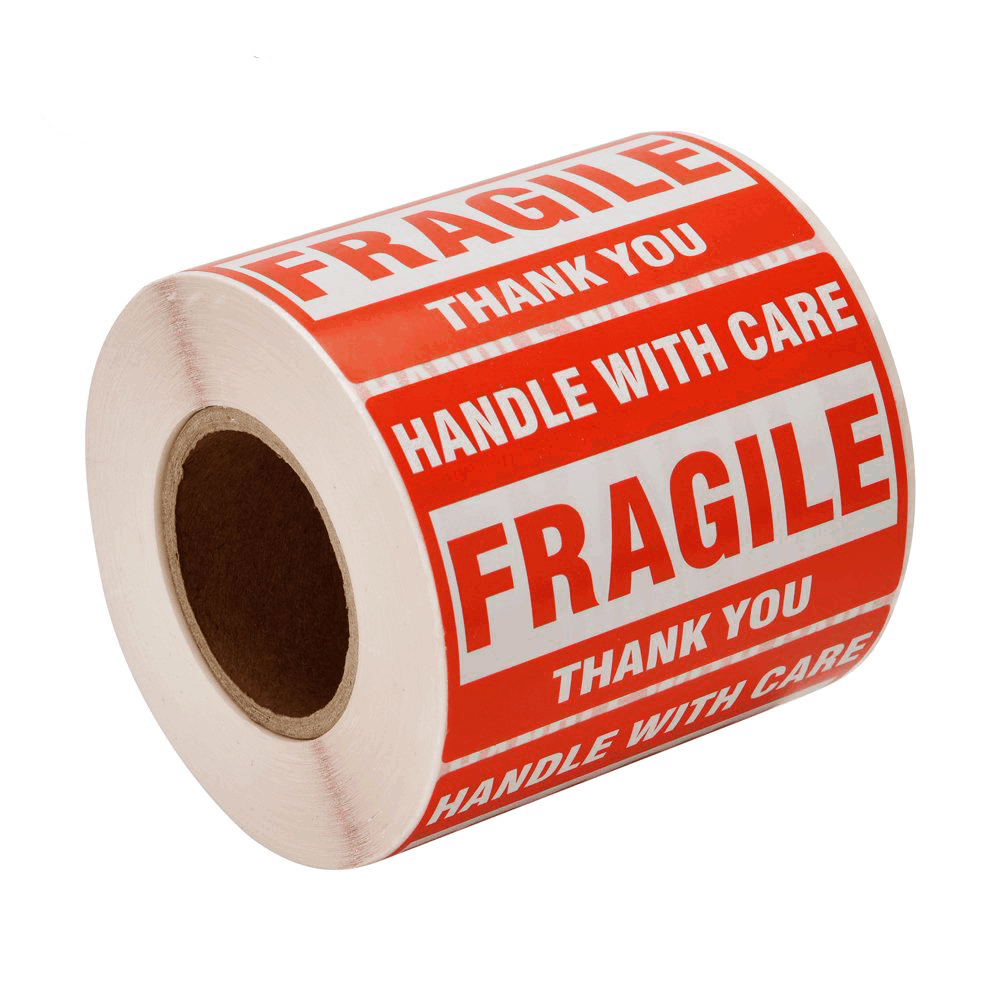
5. Grab a “Fragile” Sticker
Let’s be honest, no one wants to check their instrument. But unfortunately, a cello isn’t exactly going to fit into the overhead compartment on the plane. After you’ve purchased the case, added all the padding in the world, and ensured your instrument is protected, add a “fragile” sticker or two as the cherry on top. This doesn’t guarantee your instrument will be handled with care, but it makes it far more likely, and at the very least, it will hopefully grab some attention!
6. Be Prepared
We wish we didn’t have to write this one, but in the very unfortunate case that something does happen to your instrument, you should be prepared. Check into insurance for your instrument, and make sure to take photos of your instrument before and after you travel. Take photos of all sides of the instrument, close up and far away, so that you have proper documentation in case the worst happens.
We hope you now feel a little more comfortable traveling with your musical instruments! Along with these tips, make sure to check out our article The Basics of Musical Instrument Care and Maintenance to keep your instrument in great shape!